Openshift for Beginners

Introduction

Openshift is Red-Hat's Container Application Platform for development and hosting of Enterprise grade applications. Out of the different cloud computing models, Openshift comes under the PaaS category. Once deployed into the environment, it can take care of the underlying infrasturcture components with great effectiveness.
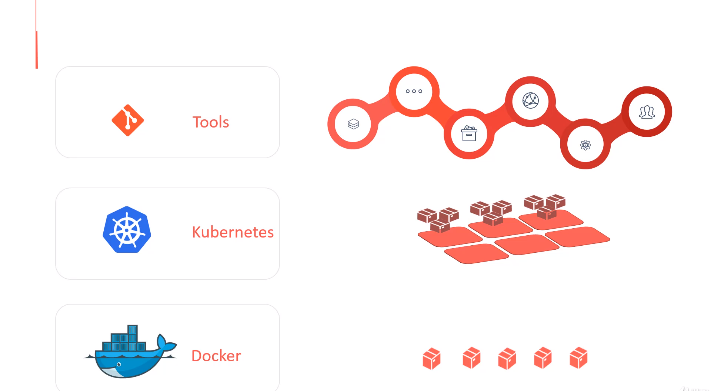
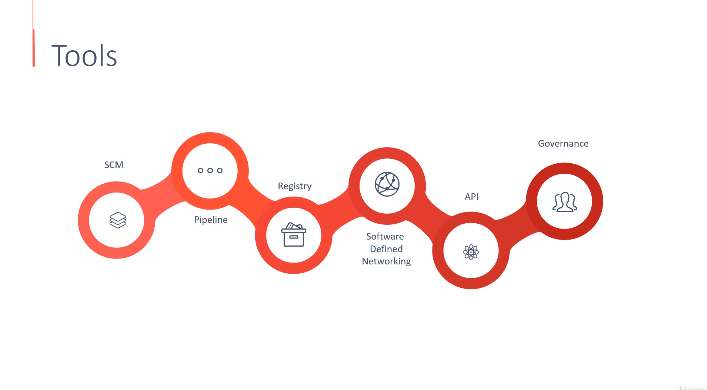
Openshift further has four categories, one of which is Openshift Origin out of which the other 3 are derived. Here we will be covering Openshift Origin, which is based upon Docker containers and Kubernetes cluster manager along with added Development and Operational centric tools that allow us for rapid application development, deployment and lifecycle management.

Basic Concepts

Docker and Kubernetes Overview :-

Consider that you have a project in which you need to build an application which has multiple dependencies on technologies for Databases, Web Servers, Messaging and Orchestration. Now these technologies will have their own libraries, dependencies, and compatibility issues with the underlying shared OS kernel. Every time you change something in the application or in the technologies used, you need to ensure that the change is supported by the underlying dependencies and this process can sometimes be tedious. This is where Containers come into picture.

Containers are isolated environments which have their own processes, services, N/W interfaces, mounts just like VMs except that they share the same OS kernel. So it is not possible to create a Container with a Windows OS on top of a host with a Linux OS kernel. Docker is currently the most popular container technology. It provides high level tools with several powerful functions for the end user.

Containers vs VMs :-

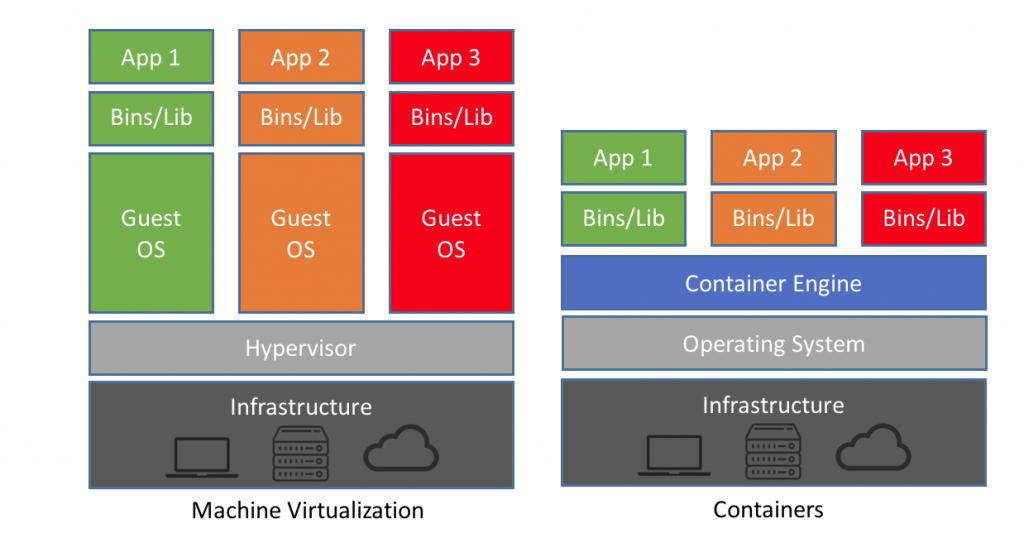
Unlike Hypervisors, Docker will not virtualize and run different OS with different kernels on the same hardware as it is developed to run containers with OS supported by the host OS kernel.

Below are some of the key differences between VMs and Containers :-

  • VMs generally cause high utilization of resources than Containers.
  • Disk space for VMs can be very high which may not even be fully utilized whereas for Containers it will be comparatively less.
  • Bootup time of Containers is comparatively fast.
  • VMs provide complete isolation from host whereas Containers have less isolation as it shares same OS kernel and some common dependencies.

So it can also be said that Containers enable more efficient utilization of resources of the host machine.
Docker Images :-
  • A Docker image is a package or a template which can be used to create one or more containers by using the docker run command.
  • Containers are running instances of images which have their own isolated environments.
  • It is also possible for anyone to create an image of their application and push it to the Docker repository on dockerhub to make it available for themselves as well as the public
Kubernetes :-

An application relies on various dependencies or backend services to function. Hence, to ensure smooth functioning of application in production, you will need a platform to perform all the container management tasks. Some of the different types of Container Orchestration technoloies are Docker Swarm developed by Docker themselves, Kubernetes developed by Google and MESOS developed by Apache. Kubernetes is most widely used platform for Orchestration as it has some great advantages :-

  • It is supported on various cloud computing platforms like AWS, Azure, etc.
  • It provides high availability as multiple instances of the same container can be configured on different nodes.
  • Hardware failure will not cause any major issues due to high availability.
  • Instances can be auto-scaled up/down on user demand.
  • User traffic can be easily load balanced.

Kubernetes is one of the most popular Container Orchestration technology used out there.
Architecture

In Progress ...............

Minishift

Local Lab Environment Setup :-
  • To begin with Minishift we first need to set up a Local Lab Environment which is going to host the VMs created be it Minishift VM or a Linux VM.
  • To do so we can use any kind of Virtualization Technology out there, but in our case we will be using the Oracle VirtualBox.
  • Go to the downloads section of the Oracle VirtualBox website and download the package as per your host machine (Windows/Linux) and simply install the package.
  • Now as we are done with VirtualBox installation, we need to deploy a new VM for which we need an image of the particular OS which will be used by the VM.
  • osboxes.org is a website which provides readily available images for Virtualzation technologies like Oracle Virtualbox, VMWare, etc.
  • You can download the desired image, and this image is downloaded in a .7zipped format so you will need a .7zip extractor as well to extract the .vdi image file and store it.
Deploying a new VM :-
  • Now using VirtualBox manager, you can create a new VM as per your memory requirements using the image that you downloaded.
  • Create a VM in such a way that you host machine and the VM are on the same network, you can do so by selecting appropriate values in the Network tab of the Settings option.
  • Once deployed, you can now boot up the VM, the password for which will be osboxes.org.
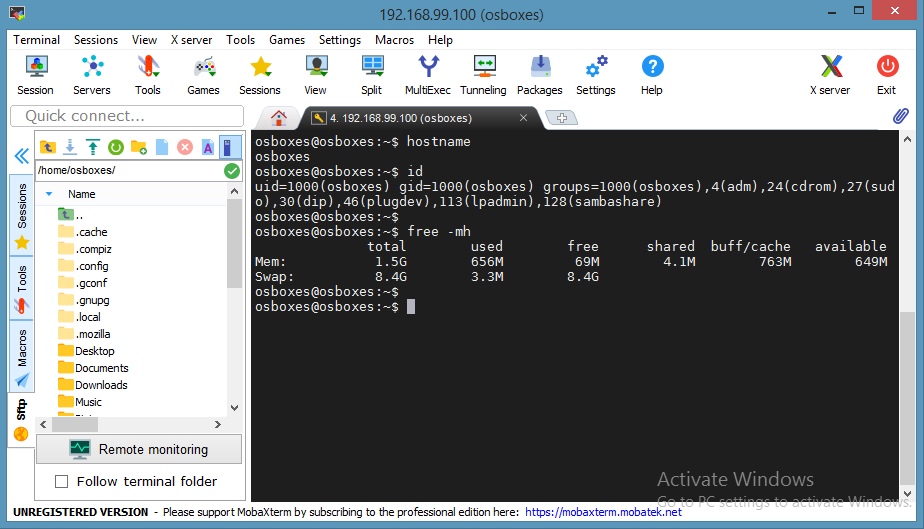
  • Now you will have to ensure that the connectivity has been established between your host machine and the VM you just boot up, which can be done by creating a simple ssh session on your host using MobaXterm or any other software by providing the IP of your VM (in my case, assigned by the WiFi network).
  • For doing so, make sure that the ssh service is running on your VM, if not just install the openssh-server on the VM using apt-install.

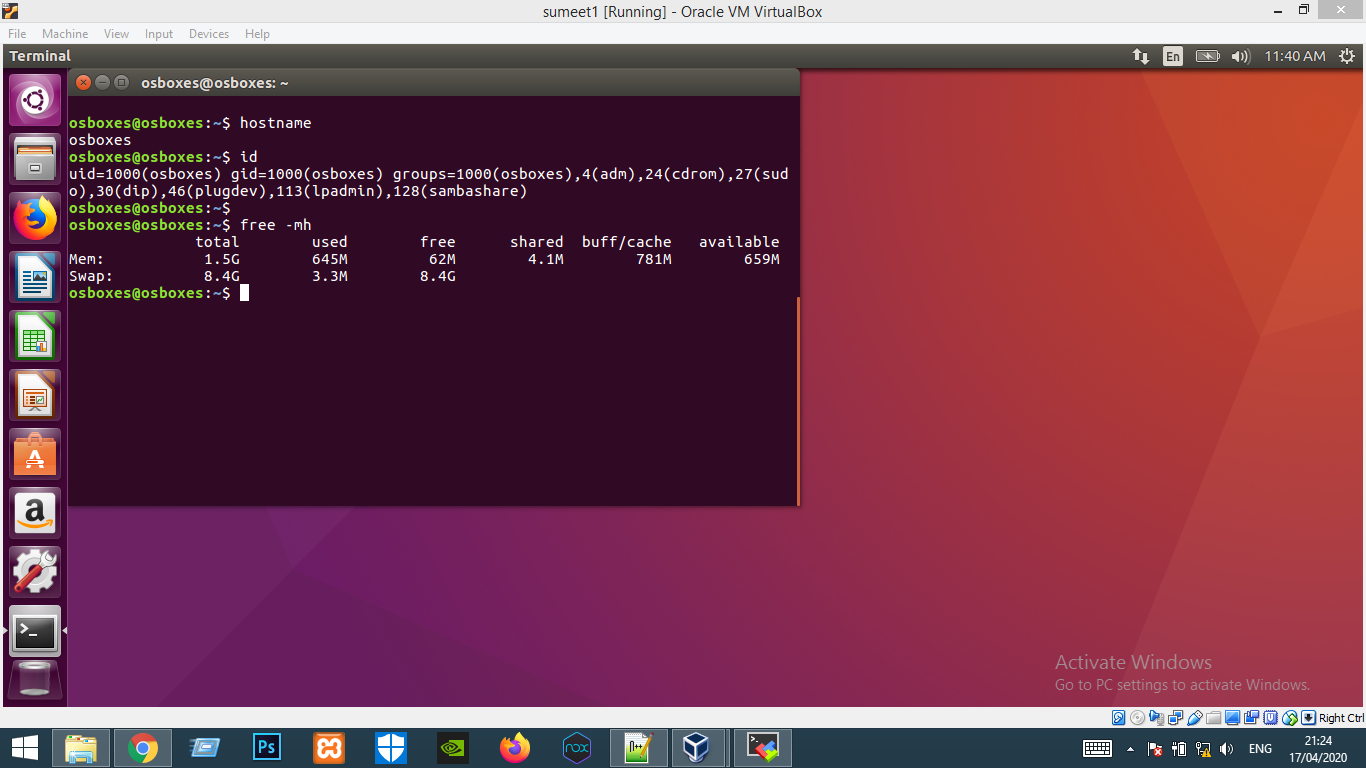
Below images will show the new VM which is boot up and ssh session on MobaXterm.


Setting up Minishift :-
  • To set up Minishift, go to the official Minishift website here and click on releases in Downloads section.
  • Select the appropriate release and download the same.
  • You need to keep the contents of the download in your C drive where you have your VirtualBox installed (In case you have Windows platform like me).
  • Now open the Command prompt and move to the minishift folder which contains the executable.
  • Use the below command to start your Minishift VM on Virtual Box (we need to use the VirtualBox to create the Minishift VM by providing the option --vm-driver virtualbox) :-
    > minishift.exe start --vm-driver virtualbox
  • This will download a new Minishift .iso image and it will create a Minishift VM in your VirtualBox.
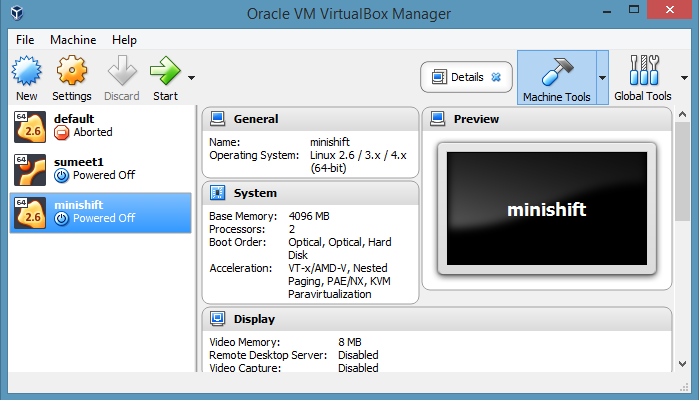
  • You can see the Minishift VM in your VirtualBox Manager console once above steps are complete.

The above blog is based upon "OpenShift for the Absolute Beginners - Hands-on" on Udemy which is authored by Mumshad Mannambeth.
You can check it out here.
You can also check out courses for Docker and Kubernetes to reap the most out of Openshift.